This site contains affiliate links. Please view the full disclosure for more details.
Want to learn how to clean makeup as a makeup artist? If you struggle to remove that stain on the tips of your makeup brushes, keep your makeup station tidy, or maintain a professional hygienic makeup setup, you’ve come to the right place.
According to a study published in the Journal of Cosmetic Dermatology, ninety-three percent of beauty blenders had not been cleaned, and 64% had been dropped on the floor and continued to be used. Ew!
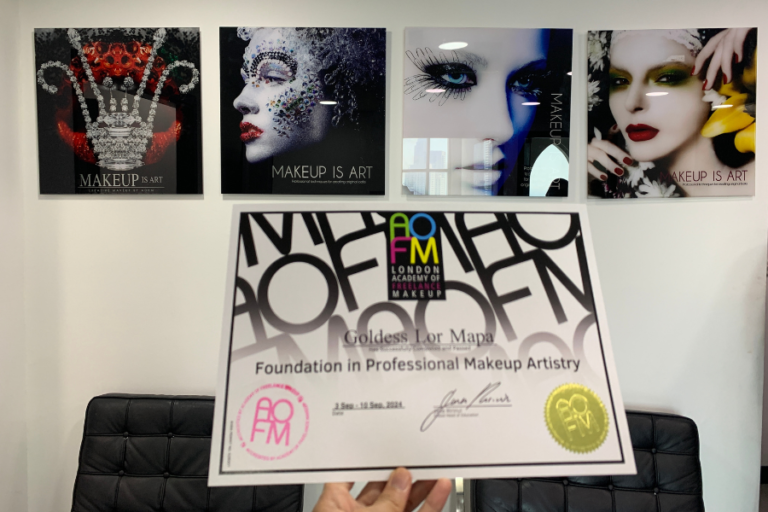
As a professional makeup artist myself, let me give you the top tips for avoiding these unsanitary and unhygienic practices!
Here, you’re going to learn all about makeup cleaning. We’ll tackle how to sanitize makeup between clients, how to sanitize eyeshadow palettes, how to clean your makeup brushes thoroughly, and many more.
Don’t skip a tip so you’ll be extra prepared for your next makeup gig!
This post is all about how to clean makeup tools and products every professional makeup artist should know about.
How to Clean Makeup Kit as a PRO MUA
1. The Importance of Regular Makeup Cleaning
When was the last time you gave your makeup brushes a proper wash? Right. If cleaning every tool and sanitizing your palettes after each client feels like overkill, hold up—I’ve got some disturbing facts to share. Keen researchers have found personal brushes crawling with bacteria, and you’re going to want to hear this.
According to The Washington Post, dirty brushes and sponges can harbor harmful bacteria that may lead to breakouts, skin infections, and irritations. And if that doesn’t budge you, another study from Spectrum Collections reveals that makeup brushes hold more bacteria than a toilet seat!
Take note: these studies tested personal brushes and sponges only. They’re used only by one person (or probably shared with their sisters). Their skin microbiome has become cozy in these brushes and sponges.
In a professional setting, imagine the chances of cross-contamination when you reuse the same brushes or sponges on different clients. You’re practically transferring all kinds of nasties from one person to another!
And yes, I get it—balancing a packed schedule while keeping your kit spotless can feel like a lot. But here’s the thing: maintaining clean tools and a tidy workspace doesn’t just protect your client’s skin—it’s a sign of true professionalism.
You’re showing your clients that their safety and experience matter to you and that you’re a professional makeup artist they can trust!
2. How to Clean and Sanitize Makeup Brushes
It’s almost midnight, and I’m still at the sink, scrubbing away at the brushes I used that day. My feet were aching, my back was sore, and all I wanted to do was collapse into bed, but I couldn’t leave these brushes dirty for another day! Besides, I only had one set of professional makeup brushes and had to use them again the day after.
As exhausting as cleaning makeup brushes may be, we, as makeup artists, should know better that the longer we wait until we clean our brushes, the harder it will be to remove those stains!
So, here are my top tips on how to clean makeup brushes, and nope, you don’t need a fancy makeup cleaning machine for this, especially when you’re just starting out in this career.
STEP-BY-STEP MAKEUP BRUSH CLEANING:
Step 1:
Cleaning of brushes starts during your makeup station setup. Set aside a space where you can stack the used brushes.
If possible, use a separate dirty makeup brush bag for each set of brushes per client. You might need those makeup brushes later for retouches, and it’s better to remember which set you used for which client.
Step 2:
After a long day, take a break, and if possible, don’t sleep on your dirty brushes. Take them all out and prepare your cleaning station.
You’ll need dishwashing liquid, some paper towels, a bowl of water, 70% isopropyl alcohol, and an optional tool like a makeup cleaning pad.
Step 3:
Spray some alcohol into the paper towel and start cleaning the handles of your brushes. Start with the brush with the least amount of product. This could be the one you used for skincare applications.
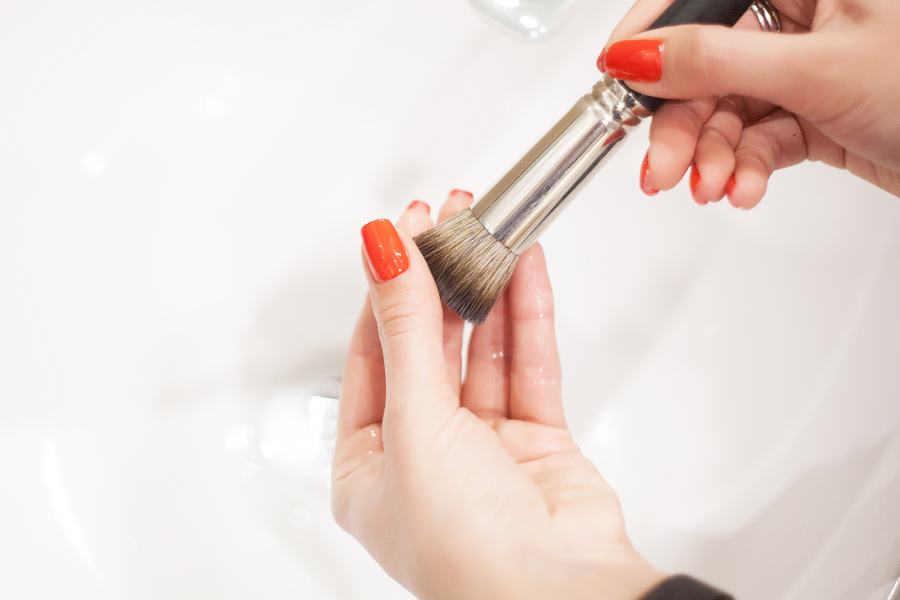
Step 4:
Pump out a pea-sized amount of the dishwashing liquid onto your palm or makeup cleaning pad and press the tip of the brushes lightly against your palm or pad in a circular motion. Occasionally wet the tip of the brushes with water to foam.
Step 5:
Ideally, rinsing is best done with running water, but if you’re a conservative like me, use a clean bowl of water, and wash off the foam into that. Squeeze the water out of the bristles gently and replace the water when it gets too muddy.
Step 6:
Important note: DO NOT wet the handles or submerge the whole brush into the water. It will damage the glue that holds your brush together, and that’s how you get wiggly brushes!
Step 7:
Rinse off with clean water until all the soap or bubbles are gone. Repeat the steps until you see stain-free bristles.
Step 8:
Spray some alcohol on the bristles and handles, then wipe off the dirt and bacteria from the handles using a clean tissue.
Step 9:
Lastly, air dry your brushes on a paper towel with the bristles pointing downward. We don’t want that water running into the glue inside the brush.
There you have it, a squeaky, pristine clean set of brushes. ✨
(Talking about how to clean makeup brushes gets me feisty!)
If you only have one key takeaway here, it would be that you’ll want to use versatile brushes during your makeup gigs.
Using brushes wisely and conservatively can save you a LOT of time during your makeup application and a LOT of back pain during makeup brush cleaning!
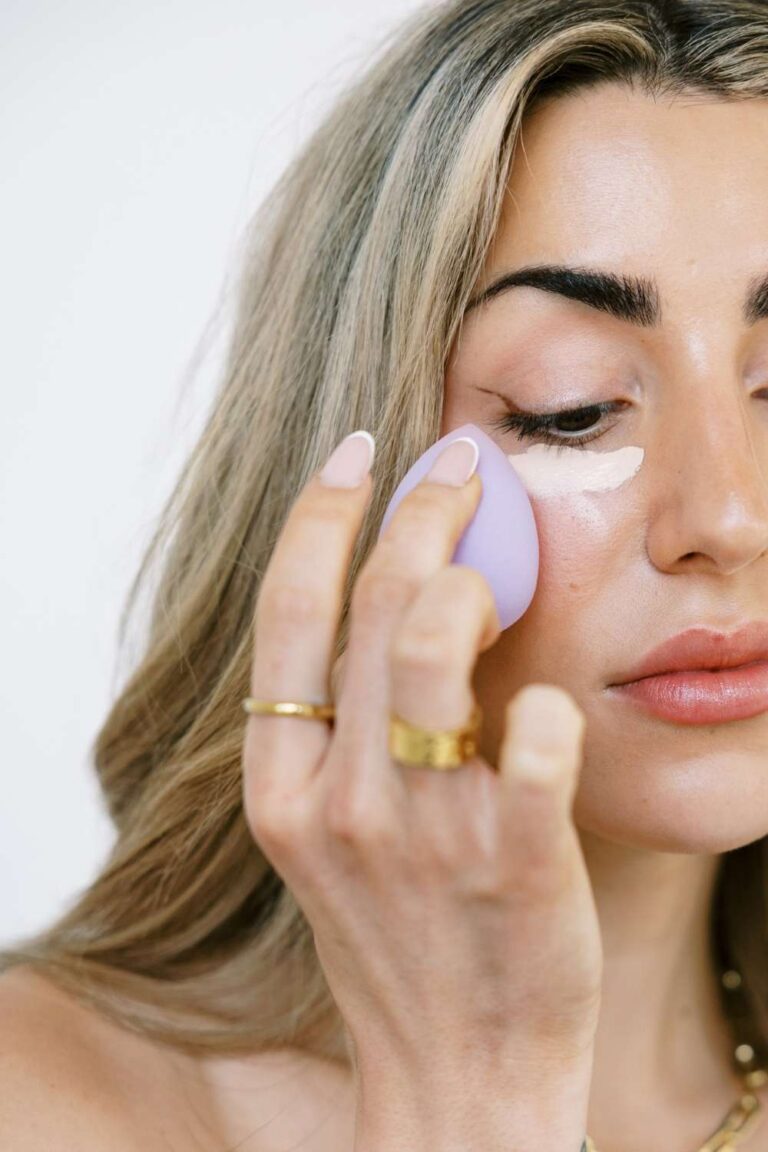
3. How to Clean Makeup Sponges
You don’t. Nope, you will never see me discussing cleaning makeup sponges here. Makeup sponges harbor a lot more bacteria than brushes. These are personal. I take sponges personally.
But really. I love a good makeup sponge! It does the job and makes the smoothing and blurring effect that makeup brushes can’t do. I use sponges all the time, but I don’t use them twice on different people!
But worry not. I have a couple of tips for you on how to get the most out of your beauty blenders!
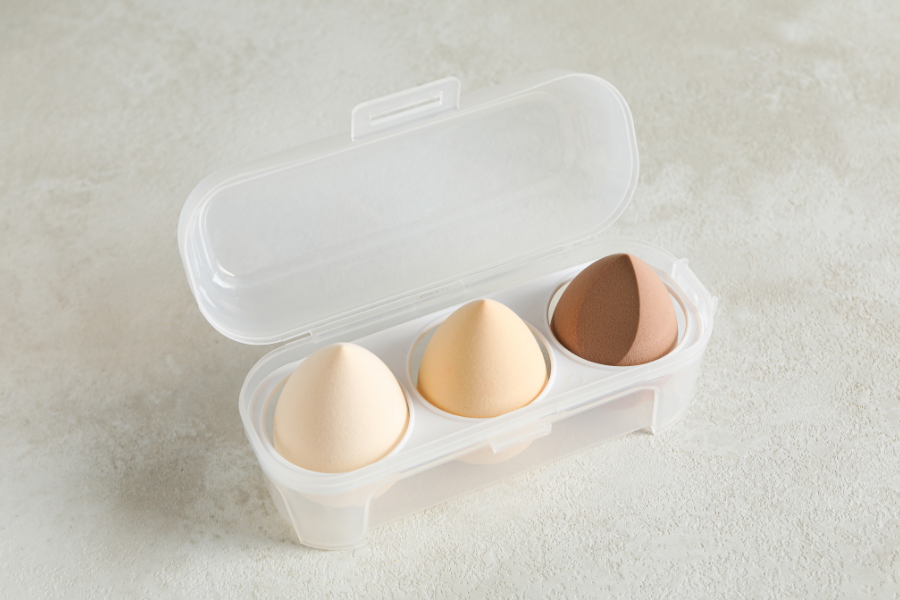
- Buy disposable sponges. They come in wedges, teardrops, and other weird geometrical shapes. Estimate how you’d like to use them and cut them in half! Yep. That’s how you save your $$$ without being yucky.
- Since we’re using these sponges one time, either throw them after use or give them to your client.
Some of the sponges I’ve used and love are these wedges and these curvy/wedgy sponges. These sponges are latex-free and have smaller pores, making them suitable for applying both liquid and powder products.
4. How to Sanitize Makeup Palettes
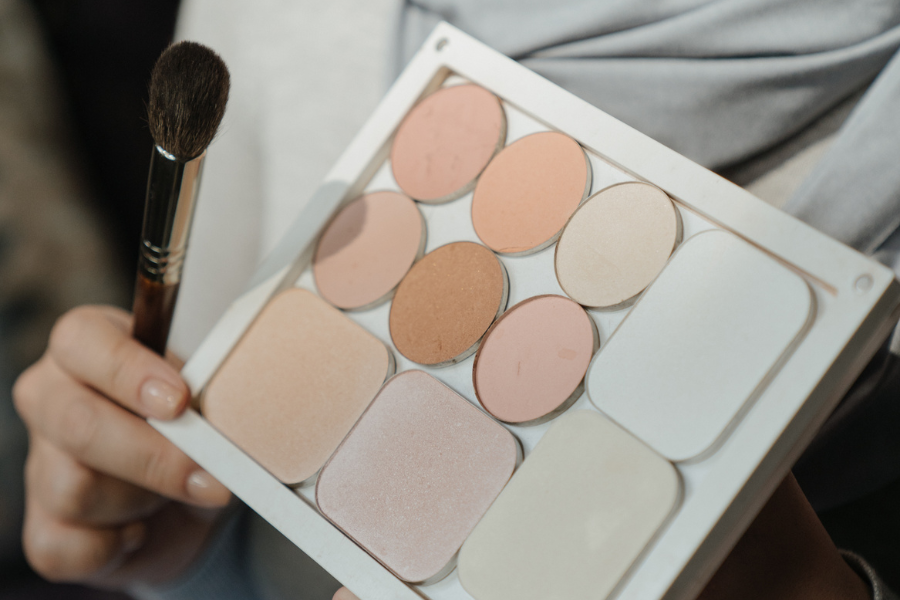
Okay, unlike the brushes and sponges, makeup palettes can be shared between clients. You only have to always sanitize them. Because even powder products can become a breeding ground for bacteria!
- Completely dampen soft facial tissue with 70% isopropyl alcohol. We’re using a soft tissue here and not a hard paper towel since we don’t want to risk accidentally scraping off the protective film of the packaging.
- Gently scrape the top layer of powders like eyeshadows, blushes, and bronzers using the dampened tissue. This removes any oils and dirt that may have transferred from brushes.
- We’re at it again with the 70% isopropyl alcohol. Spray a light mist of it over the surface from a safe distance—around 6 inches—and let it air-dry completely before closing and storing it.
You’ll want to do these steps AFTER the makeup gigs. DURING, you’ll have to do the misting part of every palette before using it for a different client.
5. How to Keep Your Lipsticks, Mascaras, and Eyeliners Clean
The lips and the eyes are the most sensitive parts of the face you’ll be touching, and it’s crucial to keep your products clean to avoid infections.
How to Clean Lipsticks
I know the gold packaging of the Pillow Talk Collection almost sings a chorale every time you touch it. But there’s just no other way to hygienically use lipsticks between clients other than by scraping them off. 🙂
Using your spatula (I repeat, spatula, not lip brushes!), scrape off a little amount of that lipstick or gloss and swipe it down to your mixing plate. From there, you can use your lip brushes or disposable lip sponges.
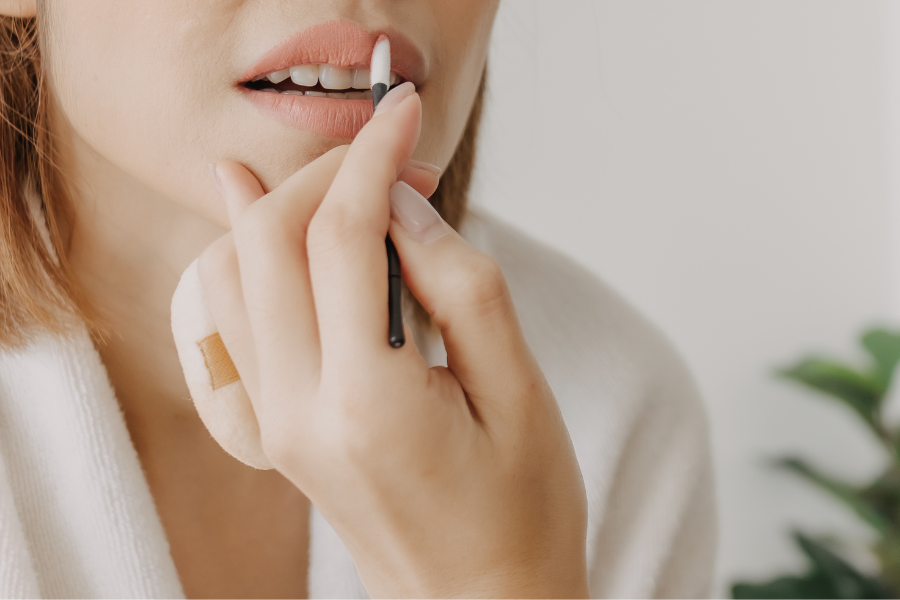
How to Clean Lip Liners
As for the lip liners, eyeliners, or any pencils of sorts, you have to always remove the exposed surface by sharpening it off and spraying a mist of alcohol after every client.
How to Clean mascara
Lastly, for mascaras and brows, use a disposable wand, dip it into the tube, wiggle it around, and make sure you get all the products you need for both eyes. Please, no double-dipping! That’s one dip per wand per client.
Keep It Clean, Keep It Professional
Let’s go over it one more time—clean tools = happy clients!
Keeping your tools and products pristine not only protects your clients from harmful skin reactions but also helps you build rapport and reinforces your professionalism.
Plus, developing the habit of cleaning your makeup like a pro boosts your confidence, ensuring you’re always ready for your next makeup gig.
Finally, if you’re looking for even more ways to streamline your kit, be sure to sign up for my Professional Makeup Artist Starter Kit Checklist—your ultimate guide to staying organized and client-ready!